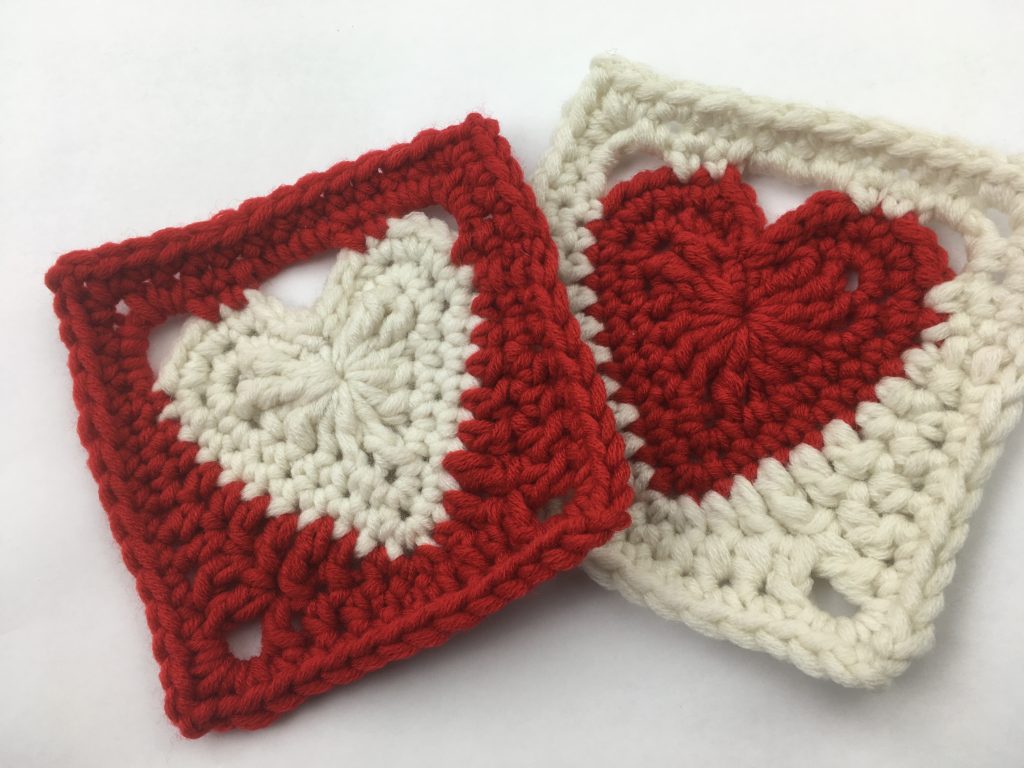
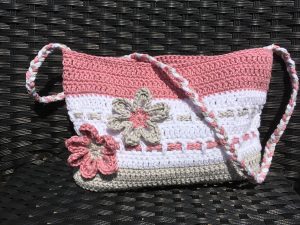
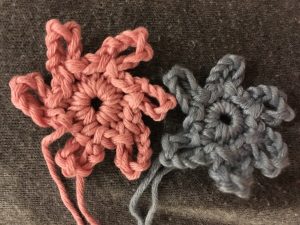
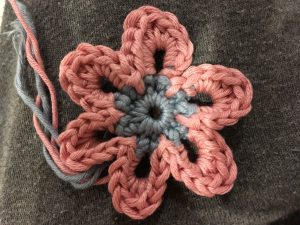
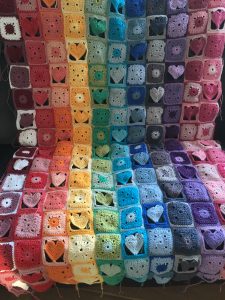
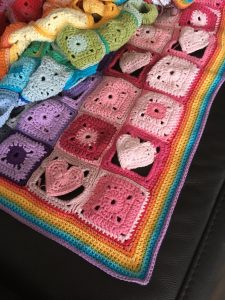
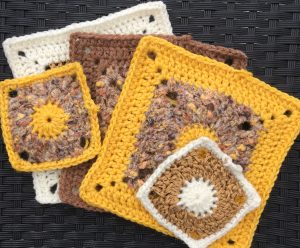
This post includes a free pattern for a striped block which can be used in a variety of blanket designs. The pattern below makes a crochet block of five inches square when worked up in a super chunky yarn on size 9mm needles. To make a larger square simply increase the number of stitches and rows. You can see how I used this block in one of my blanket designs here.
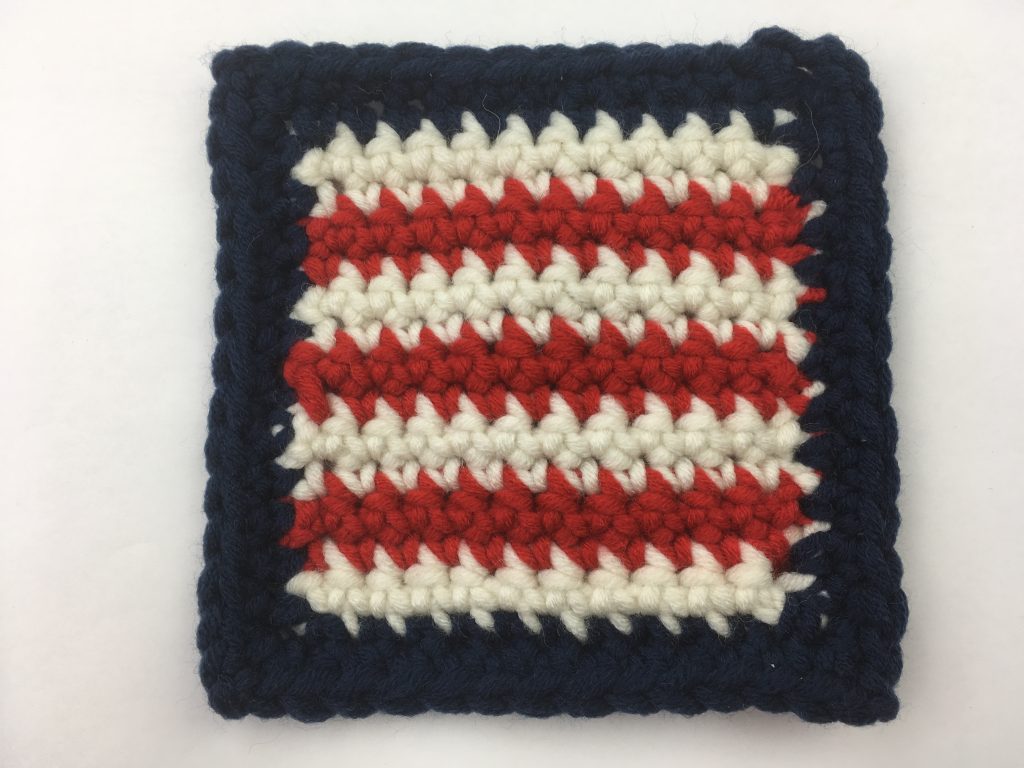
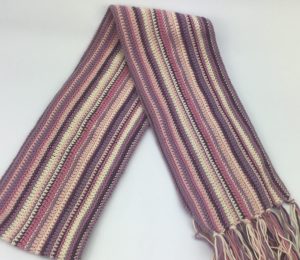
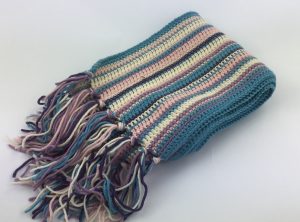
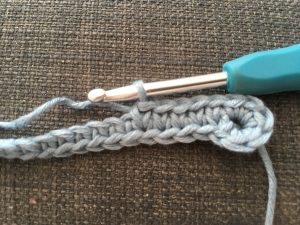
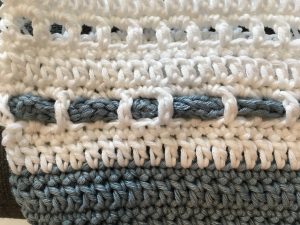
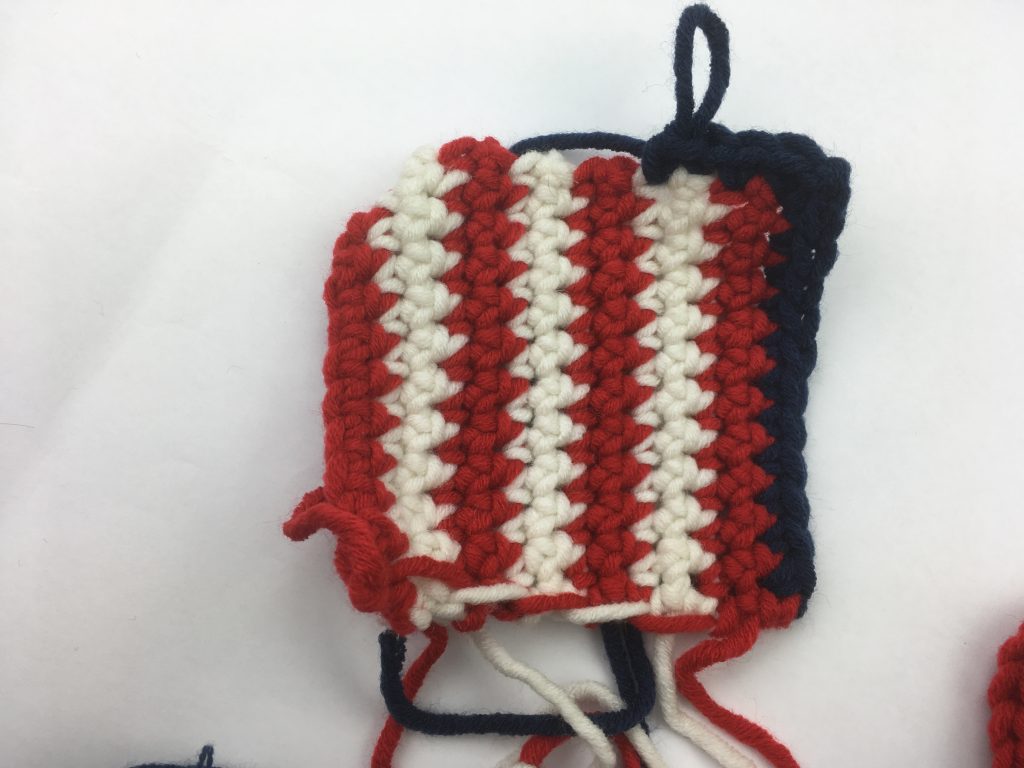
The basic pattern below produces seven stripes of two rows each. If you want your block to have broader stripes work more rows before changing colour. When using just two colours and changing colour every two rows you do not need to cut the yarn. Keeping the twists to a minimum you can work the border over the carried yarn and save yourself from a lot of finishing off! The pictures below show the border being worked in this way.
UK terms
With yarn A
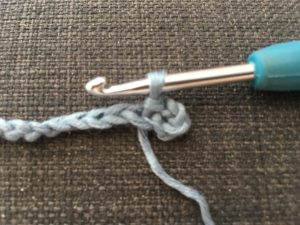
First row – Chain 12 then turn.
Second row – working into second chain from the hook, 11DC then turn.
Join in yarn B
Third row – chain 2, DC1, turn.
Fourth row – chain 1, DC11, turn.
Change yarn back to A for the two colour stripe block or change to yarn C if you are using multiple colours.
repeat Third and Fourth row until you have seven stripes.
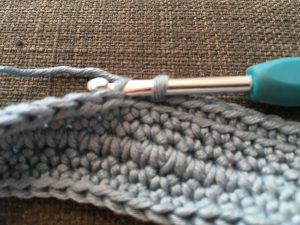
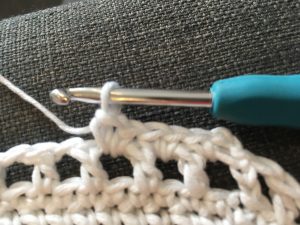
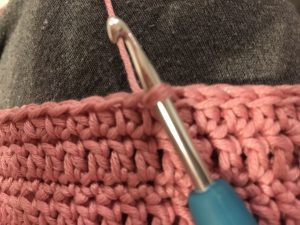
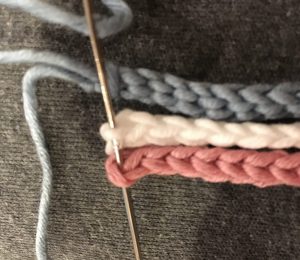
Border round 1 – Join in the border colour Chain 2, DC11, the last of these 11DCs is in the corner of the square. Chain 2, turn the block so that you are working along the side of the square and work a second DC into the corner. Work another 9DC evenly spaced along the side of the block then one DC into the bottom corner as shown below. Chain 2 then work second DC into the corner. Work a further 9DC across the bottom of the square then into the final corner work 1DC, 2CH, 1DC. Work a further 9DC evenly spaced along the final side of the square and finally work one DC into the corner, 2CH and slip stitch to join to the 2CH at the start point of the round.
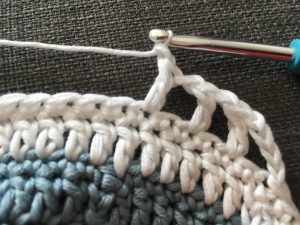
Border round 2 – CH2 then DC into each of the stitches working 1DC, 2CH, 1DC into each corner. Complete the round then join with a slip stitch to the 2CH at the start point and finish off.
US terms
With yarn A
First row – Chain 12 then turn.
Second row – working into second chain from the hook, 11SC then turn.
Join in yarn B
Third row – chain 2, SC1, turn.
Fourth row – chain 1, SC11, turn.
Change yarn back to A for the two colour stripe block or change to yarn C if you are using multiple colours.
repeat Third and Fourth row until you have seven stripes.
Border round 1 – Join in the border colour Chain 2, SC11, the last of these 11SCs is in the corner of the square. Chain 2, turn the block so that you are working along the side of the square and work a second SC into the corner. Work another 9SC evenly spaced along the side of the block then one SC into the bottom corner as shown below. Chain 2 then work second SC into the corner. Work a further 9SC across the bottom of the square then into the final corner work 1SC, 2CH, 1SC. Work a further 9SC evenly spaced along the final side of the square and finally work one SC into the corner, 2CH and slip stitch to join to the 2CH at the start point of the round.
Border round 2 – CH2 then SC into each of the stitches working 1SC, 2CH, 1SC into each corner. Complete the round then join with a slip stitch to the 2CH at the start point and finish off.
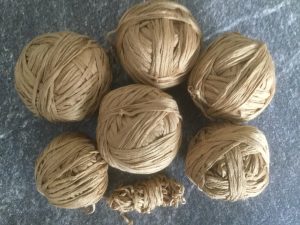
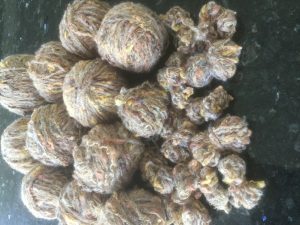
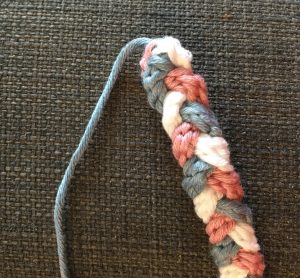
Hope you enjoy making lots of striped squares and striped blankets. This is a great stash buster square and is a great way to use up odds and ends or salvaged yarn which tends to be in small balls! You can read about my yarn salvage tips here.
Please share pictures of your projects and link back to this page if you reuse my pattern. Happy crocheting!
Annie 🙂