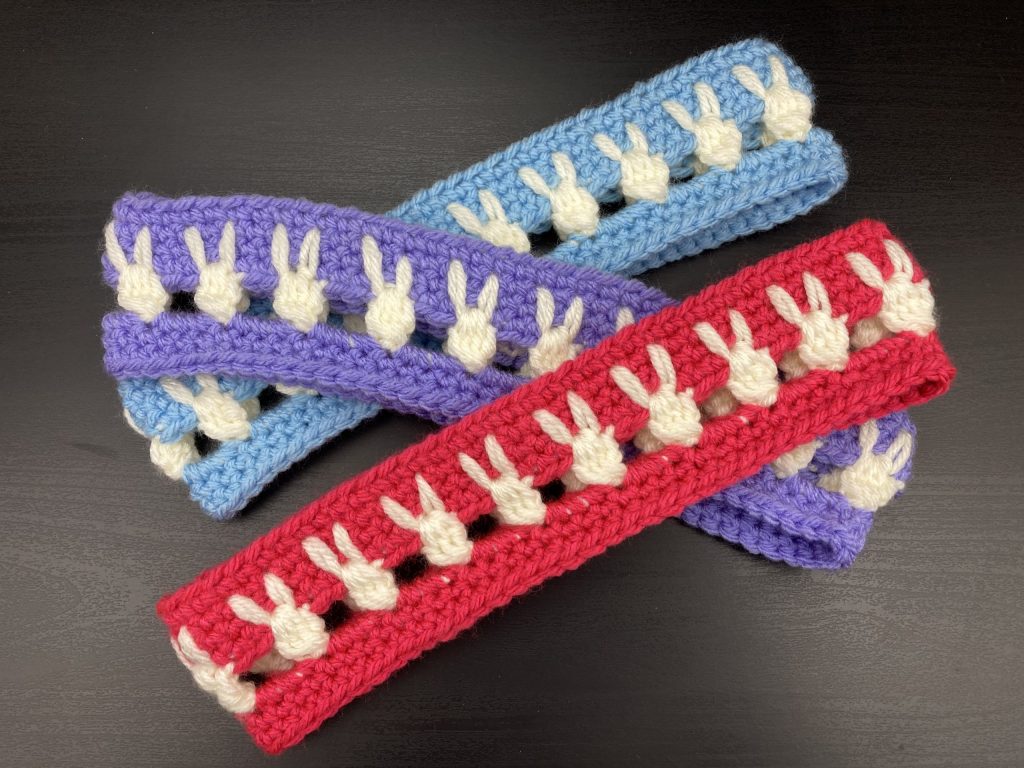
Hello and welcome to my latest free crochet pattern for bunny headbands. I have been working on lots of projects using the bunny stitch that I developed during January. My main focus was to create something that people would like to make over the Easter holidays but actually bunnies are fun all year round! There are other free project patterns to follow so please sign up to my mailing list or check back in to find those.
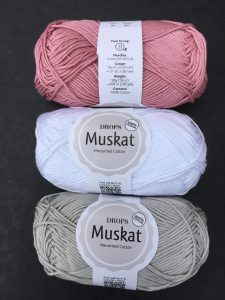
This pattern uses Stylecraft Special Chunky yarn which is very good quality for the price and available in a wide range of colours. Projects work up quickly on a 6mm hook. You can see the range of yarn here at Woolwarehouse which is where I buy all my yarn 🙂
The pattern is shown in two sizes – Adult which measures c 21 inches by 2.5 inches (depending on your tension) and child which measures c 18 inches by 2.5 inches
Instructions
This pattern will use the free stitch pattern that I posted earlier. There are two links to this pattern, one for UK and one for US crochet terms. Please follow the instructions relating to the crochet terms you would like to see!
Note – The pattern is worked in the round and all rows are worked on the right side of the piece with the exception of the bunny bodies row which is worked from the wrong side.
Free crochet pattern for Bunny Headbands – UK terms
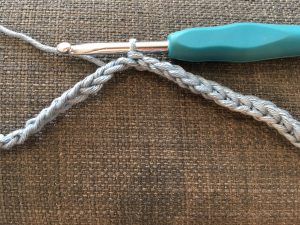
Foundation row
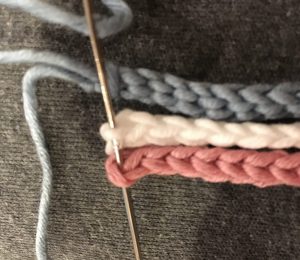
For the adult size make a chain of 72 and slip stitch to join to the end of the chain and form a loop.
For the child size make a chain of 60 and slip stitch to join to the end of the chain and form a loop.
Note – when you form the loop with a slip stitch, take care not to twist the chain or you will end up with a bump or twist in your work on later rounds.
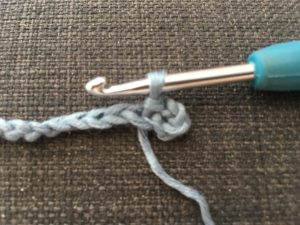
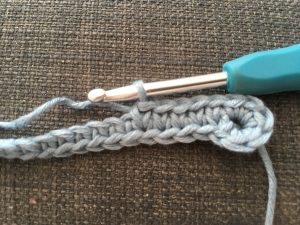
Rows 1, 2 and 3
Chain 2 then work a round in DC ending the row with a slip stitch to join to the second of the two starting chain stitches. Check the number of stitches doesn’t grow or reduce as you work. Stitch markers can be a big help with this. You need a multiple of four stitches on each row before you start to add the bunnies. Note the starting chain counts as one stitch.
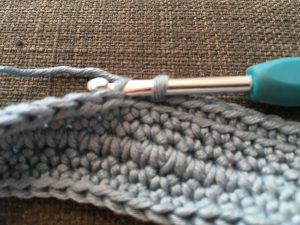
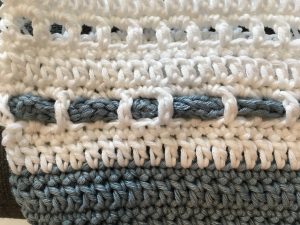
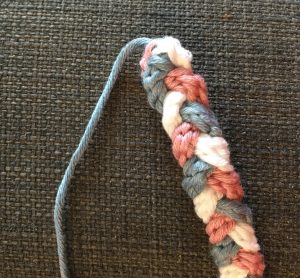
After three rows of DC you have a band and you are ready to add a row of bunny ears!
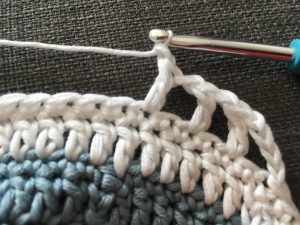
Row 4
For this row we will follow the instructions for row 4 in the bunny stitch post which you will find here for UK crochet terms. However, the start of the row is slightly different. Start with 2CH then just one DC before putting in the first ear stitch. This will mean that after the last pair of ears you have one more DC before joining with a slip stitch to complete the round.
TIP – after you work your last pair of ears, do not carry yarn B along, we will be needing it just where it is. You can cut and weave in the end of Yarn A because we will need to rejoin Yarn A after the row of bunny bodies has been added.
Row 5
This round is the only one we will work from the wrong side of the piece. Turn your work inside out and pick up yarn B which should be positioned at the end of the last pair of ears you added.
Chain 3 then work a three Tr cluster into the space below and between the bunny ears. Treat the chain as the first Tr of the four Tr cluster that makes the bunny body so pull the yarn through to leave one loop on the hook after this first bunny. Chain 3 and continue to follow the pattern for row 5 of the bunny stitch.
At the end of the row when you have worked the last bunny, chain 3 and join with a slip stitch to the top of the 3 chain that started the row.
REMEMBER to turn the work back round so that you complete the remaining rows from the right side of the work.
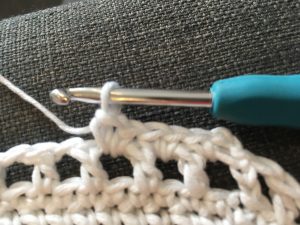
Row 6
Follow the instructions for row 6 of the bunny stitch pattern. ie Join in yarn A to the gap between two bunnies and work two chain then one DC into the same gap. Keeping the tension even, work four DC into the next and every following gap between bunnies until you reach the end of the row where you will need to work two DC and slip stitch to join to the chain stitch that started the row.
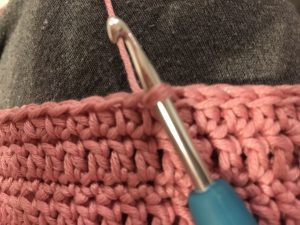
Rows 7 and 8
Chain 2 then work a round in DC ending the row with a slip stitch to join to the second of the two starting chain stitches.
And there you are – a finished headband. Just the pesky ends to tie off now 🙂
Free crochet pattern for Bunny Headbands – US terms
Foundation row
For the adult size make a chain of 72 and slip stitch to join to the end of the chain and form a loop.
For the child size make a chain of 60 and slip stitch to join to the end of the chain and form a loop.
Note – when you form the loop with a slip stitch, take care not to twist the chain or you will end up with a bump or twist in your work on later rounds.
Rows 1, 2 and 3
Chain 2 then work a round in SC ending the row with a slip stitch to join to the second of the two starting chain stitches. Check the number of stitches doesn’t grow or reduce as you work. Stitch markers can be a big help with this. You need a multiple of four stitches on each row before you start to add the bunnies. Note the starting chain counts as one stitch.
After three rows of SC you have a band and you are ready to add a row of bunny ears!
Row 4
For this row we will follow the instructions for row 4 in the bunny stitch post which you will find here for US crochet terms. However, the start of the row is slightly different. Start with 2CH then just one SC before putting in the first ear stitch. This will mean that after the last pair of ears you have one more SC before joining with a slip stitch to complete the round.
TIP – after you work your last pair of ears, do not carry yarn B along, we will be needing it just where it is. You can cut and weave in the end of Yarn A because we will need to rejoin Yarn A after the row of bunny bodies has been added.
Row 5
This round is the only one we will work from the wrong side of the piece. Turn your work inside out and pick up yarn B which should be positioned at the end of the last pair of ears you added.
Chain 3 then work a three DC cluster into the space below and between the bunny ears. Treat the chain as the first DC of the four DC cluster that makes the bunny body so pull the yarn through to leave one loop on the hook after this first bunny. Chain 3 and continue to follow the pattern for row 5 of the bunny stitch.
At the end of the row when you have worked the last bunny, chain 3 and join with a slip stitch to the top of the 3 chain that started the row.
REMEMBER to turn the work back round so that you complete the remaining rows from the right side of the work.
Row 6
Follow the instructions for row 6 of the bunny stitch pattern. ie Join in yarn A to the gap between two bunnies and work two chain then one SC into the same gap. Keeping the tension even, work four SC into the next and every following gap between bunnies until you reach the end of the row where you will need to work two SC and slip stitch to join to the chain stitch that started the row.
Rows 7 and 8
Chain 2 then work a round in SC ending the row with a slip stitch to join to the second of the two starting chain stitches.
And there you are – a finished headband. Just the pesky ends to tie off now 🙂
Variations to the free crochet pattern for bunny headbands
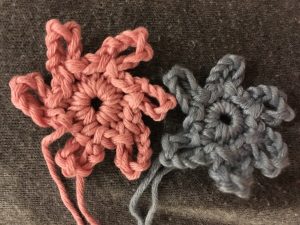
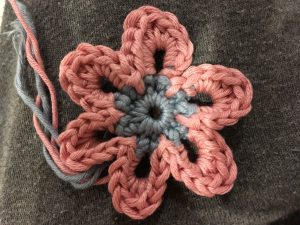
There are lots of potential colour options here. You could add stripes of different colour by changing at the start of each round. I recommend you keep a high contrast between the yarn colour you use for the band and the one you use for the bunnies though. I made some samples where the colours were not sufficiently different and the headbands did not look as striking. You couldn’t see the bunnies well from a distance. Of course you might actually prefer it that way – your choice!
Another variation option is to widen the band by adding in a row of Tr (DC in US terms) either side of the bunnies. To do this place the first row of Tr (DC in US terms) between row 1 and 2 above and the second row of Tr (DC in US terms) between the last two rows of DC (SC). So that the pattern after the bunny stitches reads two rounds of DC, one round of Tr and a final row of DC. OR in US terms two rounds of SC, one round of DC and a final row of SC.
My final pattern tweak is that you could work the foundation and first row plus the final row of the headband in the same colour you use for the bunnies. I will add a photo of that version to this post as soon as I have worked one up!
I hope you like this free crochet pattern for bunny headbands. If you would like an add free pattern I will be adding one to my Etsy shop. The headbands are already listed on my shop. Please join my mailing list for more free patterns and crochet love. Happy crocheting!
Annie 🙂
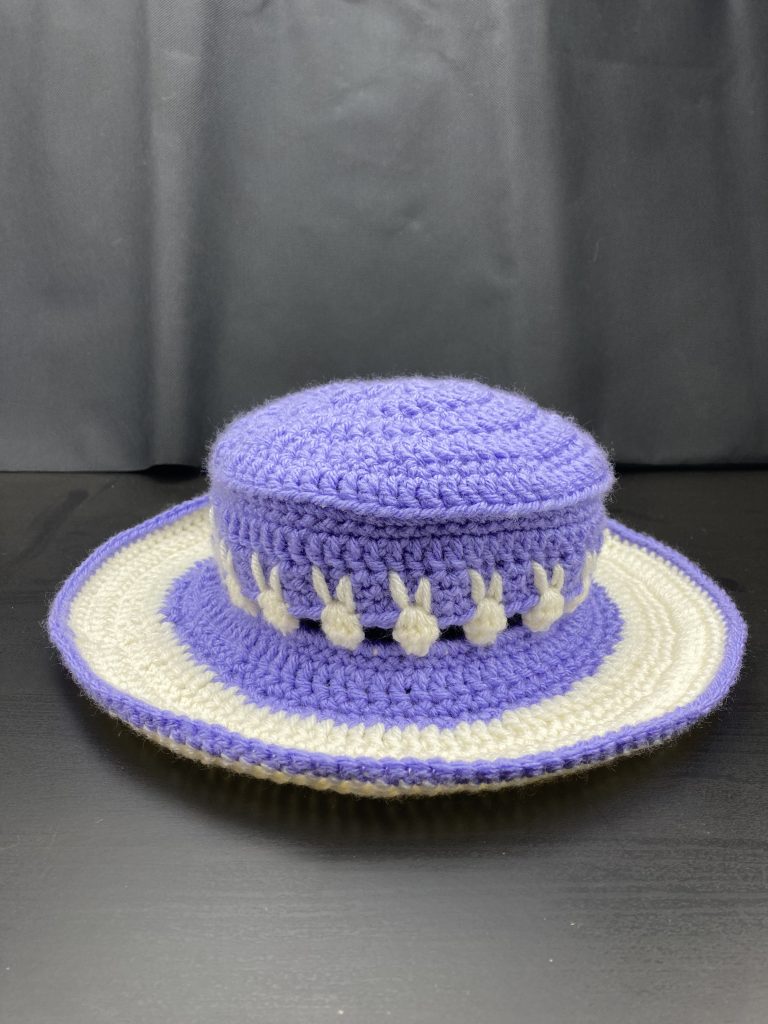
PS. This hat pattern is coming soon!