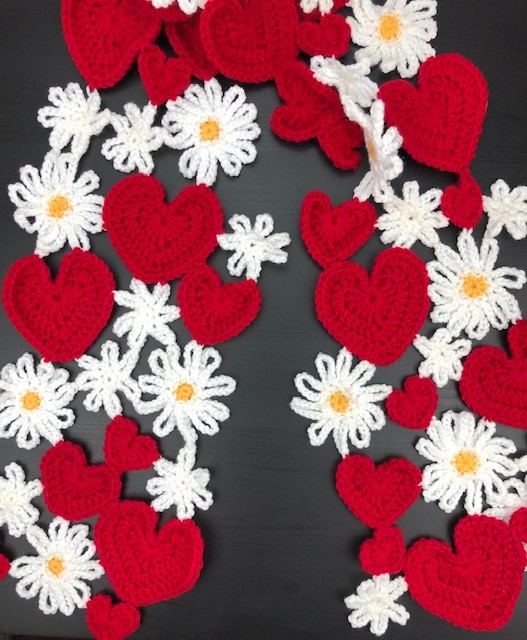
Sharing with you my latest heart based pattern – Hearts and Flowers Scarf. This pattern is based on the new large heart pattern I shared a couple of weeks ago. The pattern uses three sizes of heart but they are actually all the same pattern. To make the different sizes you simply stop after the first, second or third rounds. There are also two sizes of flower 🙂
Materials
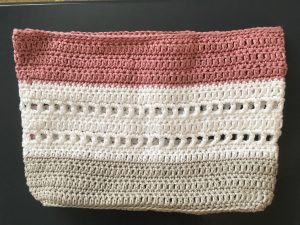
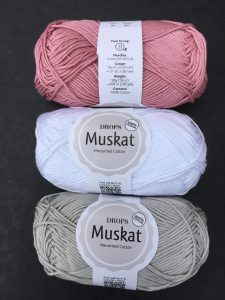
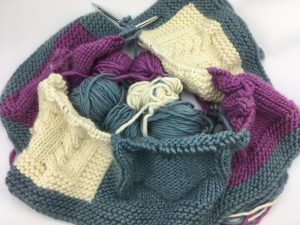
The scarf pictured here is made from Stylecraft Special Chunky yarn. The shades used are Lipstick – 1246, Saffron – 1081 and White – 1001. I buy all my yarn from woolwarehouse here in the UK. The flowers and hearts are made using a 6mm crochet hook. TIP – have a smaller sized hook available to use for fiddly bits – more later on this!
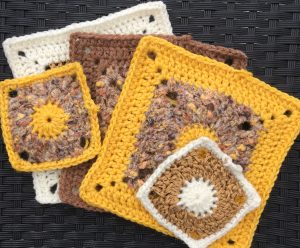
You could make this scarf using oddments of any weight of yarn. It would be a great stash busting pattern if you did just use up any scraps you have. You could use a complete mix of colours but I think it would be most effective if you keep one pallet of colours for the hearts and a different pallet of colours for the flowers.
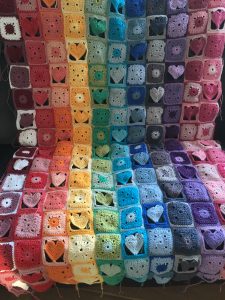
This pattern is ‘free form’ rather than being a specific layout. This means you make lots of hearts and flowers then lay them out as you like them before joining them together to make the scarf.
Start your own Hearts and Flowers Scarf
‘Free Form’ is all very well but you have to know what you are aiming for! There are two options for this. The first option is very simple if you have a scarf you already like the length and width of. Lay that scarf out on a flat surface. Second option, if you don’t have a suitable scarf to base your hearts and flowers scarf on then as a rough guide, a scarf is normally between six and eight inches wide and about as long as you are tall. Cut a template out of newspaper or tape together scrap paper till you have something the size and shape of the scarf you are making.
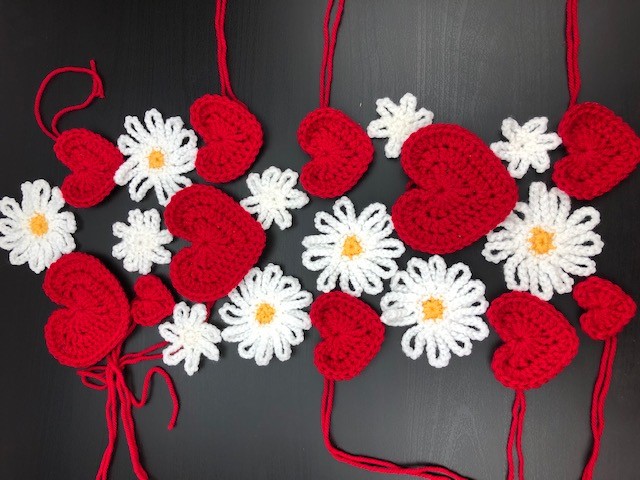
Whichever your base, the next step is to place on the hearts and flowers in a design you like. Bear in mind that you will need to join them up with a couple of stitches so aim for each shape to touch another in a couple of places without being bent or forced to do so. If you have to bend or stretch a shape to make it fit then you will end up with unwanted bumps and lumps in your scarf.
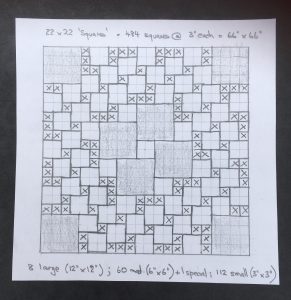
You could make the hearts and flowers and build the design up as you make them. Or, you could use paper templates to design the scarf first which then tells you how many of each shape you need to make.
Here is a free download which contains outlines of the hearts and flowers in all sizes. You can cut these out and play with shapes until you get the design you want. Note these sizes are representative of the space required only and not accurate versions of the flowers. They are based on my own tension using Stylecraft Special chunky and a 6mm hook. If you are using scraps of different yarns you will need to use your own shapes to make templates.
Heart and flower patterns
The heart pattern can be found here. To make the three sizes simply finish off after the first, second or third round!
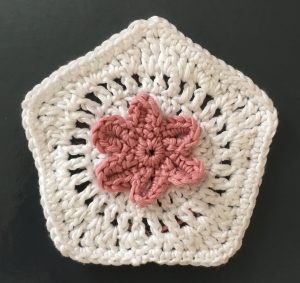
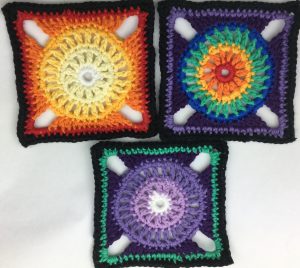
Large flower pattern
First round – in first yarn, make a magic loop, Chain 2 and work six DC (SC in US terms) into the loop. Pull closed and slip stitch into the top of the two chains to form a small disc.
Second round – join a contrast yarn, Chain 2 work a round of DC (Sc in US terms) work 2Dc (Sc in US terms) into the second and 5th stitch and slip stitch to join back to the start point.
Third round – with the wrong side of the disc facing you work 12 Chain then slip stitch into the next stitch. Work 12 chain and slip stitch into the following stitch. Proceed like this until you get back to the start of the round. This should give you 10 ‘petals’ but to be honest, if it gives you 11 or 9 it really doesn’t matter!
Small flower pattern
First round – make a magic loop, Chain 2 and work six DC (SC in US terms) into the loop. Pull closed and slip stitch into the top of the two chains to form a small disc.
Second round – with wrong side facing, chain 9 then slip stitch into the next stitch. Work 9 chain and slip stitch into the following stitch. Proceed like this until you get back to the start of the round. This should give you 7 ‘petals’ but again, if it gives you 6 or 8 it really doesn’t matter!
Finish off all the ends on the flower centres. Leave the ends on the petals and hearts and use these to join the hearts and flowers.
Making up your Hearts and Flowers Scarf
You can start anywhere when you make this scarf up. I started at one end adding each element as I went. I think if I was making this with scraps, I would start in the middle and keep each side more or less even with the colours.
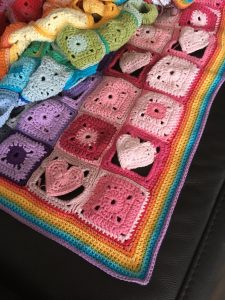
Pick up your first heart. Using one of the ends that you left without finishing, thread a wool needle and work the end through the heart to the point where it touches the next element in your layout. Join to this next element with a couple of stitches then continue to finish off the end by weaving it into the heart as normal.
Lay the two joined elements back into your design. Pick up the next element that touches these and again join using the other unfinished end. If you have too many joins and not enough unfinished ends then you can thread your needle with a yarn scrap to form the join but I tried to get away without doing this!
One final point on the layout. Pushing the hearts and flowers together closely to minimise the gaps and spaces, will make the scarf more substantial and warmer. Spreading the hearts and flowers out, leaving larger gaps, will make the scarf more decorative than warm!
If you use this pattern please share your results – it would be lovely to see them. I am happy for anyone to use these or any of my patterns to make things to sell or share but please include a link back to my blog if you do.
I have one more heart based pattern to come for this years Valentines day so watch this space. Hope to be posting that one in the coming week. Happy crocheting!
Annie 🙂