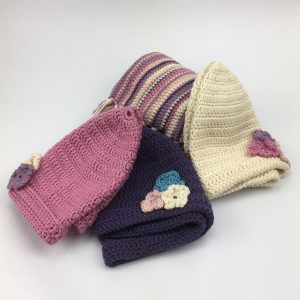
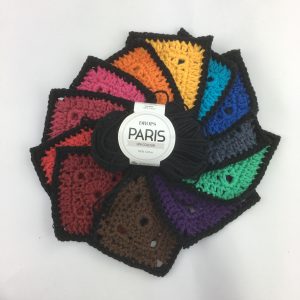
Last Christmas I asked my husband for what he thought was a very strange present. I asked him to get me one ball of each colour of a certain type of yarn. I wanted to be able to play with the colours and to put together a blanket design based on all the colours available. The yarn I had picked was Drops Paris. I chose this because I wanted to work in heavy cotton and this yarn is so inexpensive it made the project affordable. Apparently ordering the yarn one ball at a time was quite a lengthy process so my husband called the online retailer and some very helpful people processed his order by phone!
I designed a pattern for a small square and produced one of every colour except black. I decided to use black to edge all the squares so didn’t want a black square. Here is a picture of my finished set of one of every colour sample squares 🙂

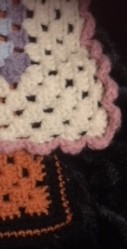
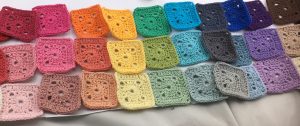
I designed the blanket by laying these all out on the kitchen table and moving them around until I saw the design I wanted. I then worked out how many more squares of each colour I needed and calculated my yarn requirement based on that. I have placed a yarn order and I am now waiting for delivery. Whilst waiting for the yarn to arrive, I used the single ball of black yarn that I did have to edge a few of the squares. I am never sure whether I want to edge in black or white but I do think black is more practical.
When the yarn arrives I will be able to make up the rest of the blanket and will be sharing photos here. I will put the pattern and the finished product up on my Etsy shop. I have found this method of designing very quick and easy once I had made all the small squares. It did take quite a long time to make up the sample squares though and I have ended up with a few that I will not be using. I wouldn’t want to do this with a more expensive yarn.
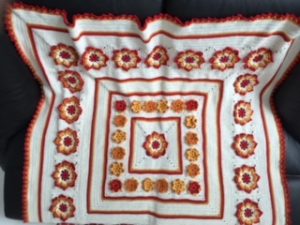
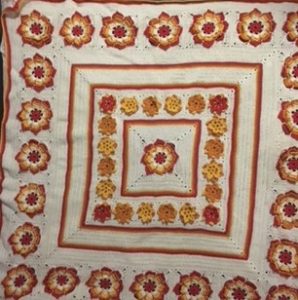
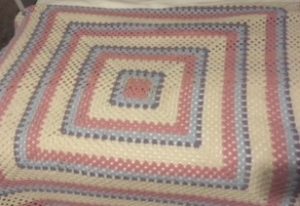
This is the final theme for my project. I have arranged the squares in a rainbow with a pastel, muted and bright row of each colour. This is only possible because of the large range of colours in this particular yarn. I hope you like the idea 🙂
If anyone would like the pattern for the coloured square it is available in the patterns section of my blog. The blanket would be a great stash busting project if you have a lot of oddments of yarn of similar weight. I would recommend using one colour for the edging of each square to pull the blanket into one design.
That’s all from me for now. On to the next design…..
Happy crocheting!
Annie 🙂