Hello! I wanted to share this free pattern for a hair accessory with you. Most of my making time at the moment is going into a large blanket made of smaller squares. I am spending all my time making these squares and finishing off the ends. The work is a stash buster in its own right as it uses small quantities of yarn to make each square. However, I am still finding myself with some very small oddments and it hurts me to thrown those away so I have come up with this design to use even the smallest pieces of left over yarn! Here is the finished result.
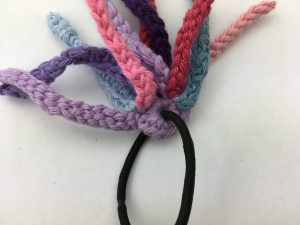
Instructions – Hair Accessory.
To make this you need small oddments of yarn, an elastic hair band/tie and the size of crochet hook appropriate to your yarn. In my case I am using left over Drops Paris yarn which takes a size 5mm hook.
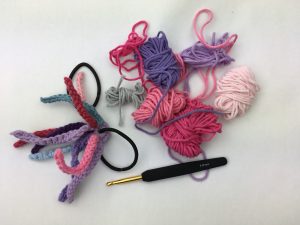
Start by making a magic loop that goes through the middle of the hair band. I found this a bit of a mind bend to start with! I am including a picture below so that you can lay your work down and copy mine if that helps!
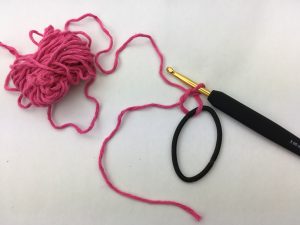
Work 12 DC (SC US) into the magic loop. You might need to vary this according to the weight of your yarn. It doesn’t really matter how many stitches you put into the loop as long as you can pull it tight to circle the hair band – see below.
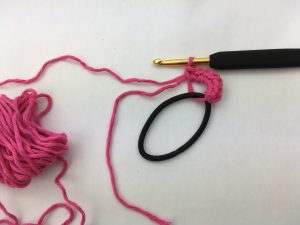
Without breaking the yarn work a chain to the length you require. This will form one of the ‘ribbons’ in the final item. If you are using light/acrylic yarn then the ribbon will spiral so you may need a longer chain. In the yarn I am using the ribbons do not curl much and I used a chain of between 12 and 16 in the finished piece pictured.
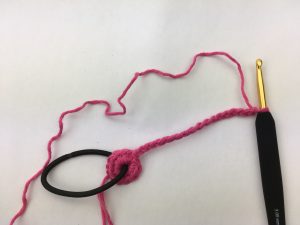
When you have the chain to the length you require work back along the chain either using slip stitches or DC (US terms SC). The SC will give the effect of a cord, DC (SC US) will give a thicker strip. Finish off the strip with a slip stitch into the outer edge of the DCs in the magic loop. This will reinforce the join between the ring and the strips and make the item more robust.
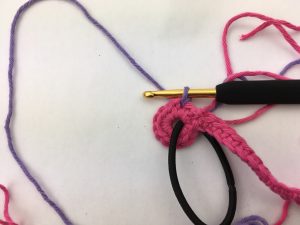
Join in other colours to the DC’s in the magic ring and repeat the steps above to add more strands to the accessory. Keep these close together on one side of the ring so that the other side can sit against the wearers head without making it uncomfortable.
Finish the piece by sewing in the ends but this need not take long as you can run the loose ends down the length of the ribbons very quickly! And that is it – you can play with colours – match them to other garments or use any random oddments in your stash! These could look lovely on flower girls if they were worked all in cream/white or could be made to match the colours of flowers or bridesmaids dresses.
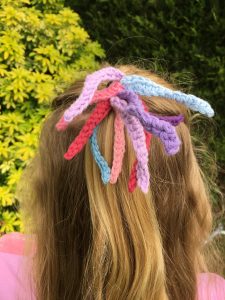
Hope you have a go at this and enjoy the results as much as I did. I think it is a really fun way to use up tiny scraps of yarn and a lovely break from big projects. Happy crocheting!
Annie 🙂