Yarn recycling is fun, rewarding and good for the planet! In my two earlier posts I gave you tips on garment selection and salvage. Yarn Salvage #3 – How best to use the yarn….. will give more advice on how to process the yarn you collect and the best way to use the yarn. You can see the earlier posts here Yarn Salvage Tips #1 and Yarn Salvage Tips #2
There are a number of different aspects to yarn that influence how you treat it and the type of project it is suited to. The three main aspects I will cover here are yarn weight, ply and content.
Yarn Weight – wpi
This is an important aspect of the yarn when it comes to determining the type of project you can use the yarn for. We measure Yarn Weight in ‘wraps per inch’. You can pay a lot of money for a gadget that works out the wpi for any yarn. It really isn’t difficult though and in my view not worth spending hard earned cash on! Wraps per inch is the number strands of yarn that will fit into one inch. The strands should sit next to each other comfortably. There should be no overlap or stretch.
To make your own gadget to measure wpi you need a pen, ruler and piece of wood – ideally something rounded like a broom handle. We use an old clothes peg 🙂
Take the ruler and place two marks on the wood one inch apart. Draw lines around the wood at the places you have marked. You are already ready to use the tool!
Take the yarn you want to assess and wrap it around the tool. Place the first strand of yarn just inside the first mark you made. Wind the yarn round the tool without stretching the yarn. Each strand of yarn should sit alongside the previous strand with no overlap. When the yarn wrapped around the tool reaches the second mark, stop winding. Count the number of wraps of yarn between the two markers. This is your wraps per inch for the yarn or wpi.
Yarn Ply
Ply is the number of individual strands that make up a yarn. Sometimes the strands are twisted so that the yarn handles as one strand. Sometimes you unravel a garment and find that the yarn is made up of several strands that have not been twisted. You can choose whether to separate out the strands or keep the yarn as multi-strand. What you choose to do will depend on the type of yarn and the type of project you want to use it for. I keep detailed records of recovered yarn. I write down the wpi and where the strands are not twisted, also note the ply. This gives me good information when planning projects.
Yarn content
The easiest way to identify the yarn content is to take the information from the garment label when you recover the yarn. I try to select garments with an element of natural fibre. When combining yarn in a project I try to match fibre types. This is not always possible. Yarn content will impact the way the yarn changes over time. It will also have a big impact on the way the yarn washes. If you have a project made from recycled yarn always wash on a wool/cool setting and dry flat. This is particularly important when combining more than one salvaged yarn.
Unravelled yarn often has a lot of ‘kinks’. When you crochet or knit with the yarn these kinks will disappear. If they bother you you can try to reduce them. I say ‘try’ because this method will produce varied results according to the yarn composition. The lower the percentage of natural fibre the less effective this method will be.
Flattening kinks in yarn containing natural fibres
Firstly, turn the yarn into hanks rather than balls. There are expensive machines that make this job easier but we are trying to save cash! You can wind yarn into hanks using your own arm winding the yarn between the base of your thumb and elbow. You can also use the back of a chair or enlist the help of a small human! I find small humans to be helpful and compliant until they hit teenage years. Teenagers are less than inspired by the idea of helping wind yarn 🙂
Once the yarn is in hanks soak them in warm water – NOT HOT (unless you want to end up with felt). You can add wool washing liquid or powder. The kinks should begin to relax in the water. You may have to leave the yarn soaking for a few hours. Rinse and dry the yarn either flat on a towel or hanging over a bath. Do not squeeze or ring out the yarn. Finally you will need to reball the yarn for use.
Using the recycled yarn
Now you have added all this recycled yarn to your stash what will you make? It is possible to use the yarn recovered from one garment to make another garment. However, it is likely that during the recovery process some yarn will have been lost. This means that you might need to top up the quantity of yarn from one garment in order to have enough to make another.
You can top up the recovered yarn with yarn from your stash. You could buy some yarn to contrast or compliment the recovered yarn. Or you could combine different yarns that you have recovered into one project.
Most patterns are designed for yarn of a particular weight or wpi as above. One of the latest patterns I wrote was for a super chunky yarn worked up on a 9mm hook. I wanted something that would grow and complete quickly! I decided to use this pattern as an example of how I work with recycled yarn.
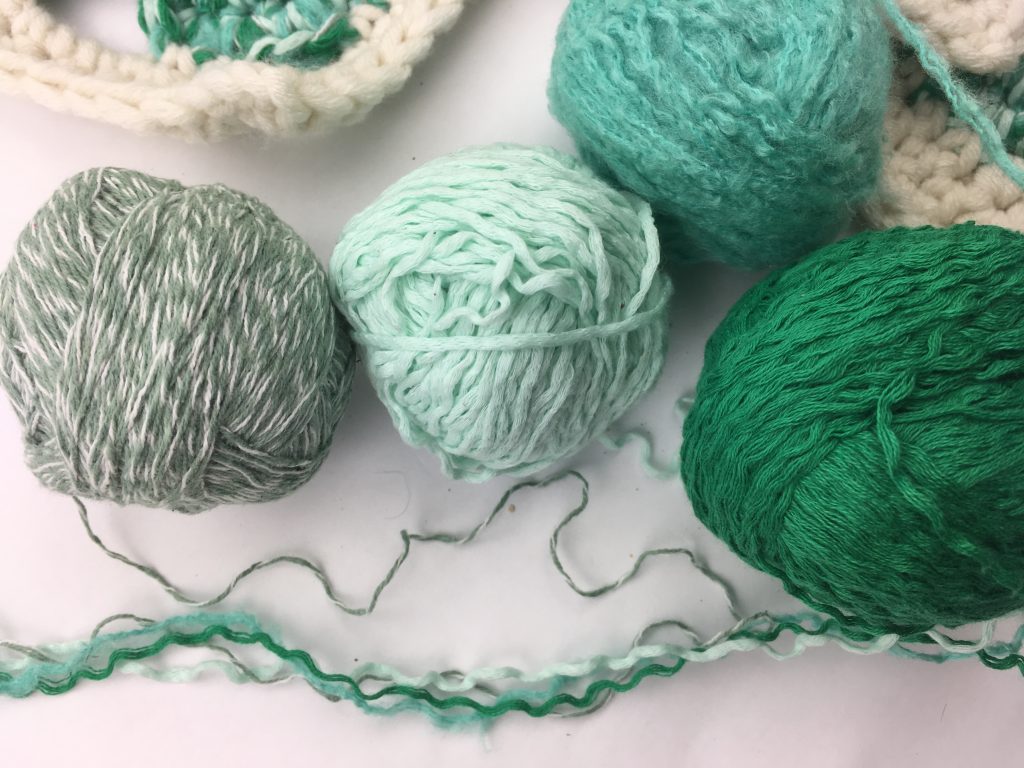
Much of the yarn I salvage has a high wpi. This is because most yarn used in the industrial manufacture of garments is lightweight around 14 wpi. I prefer to work with a heavier yarn, aran or chunky weight around 7 or 8 wpi. However, you can combine the yarns you recover to produce a heavier weight yarn. This is what I did in my latest project. The resulting yarn can look startling different to its component parts.
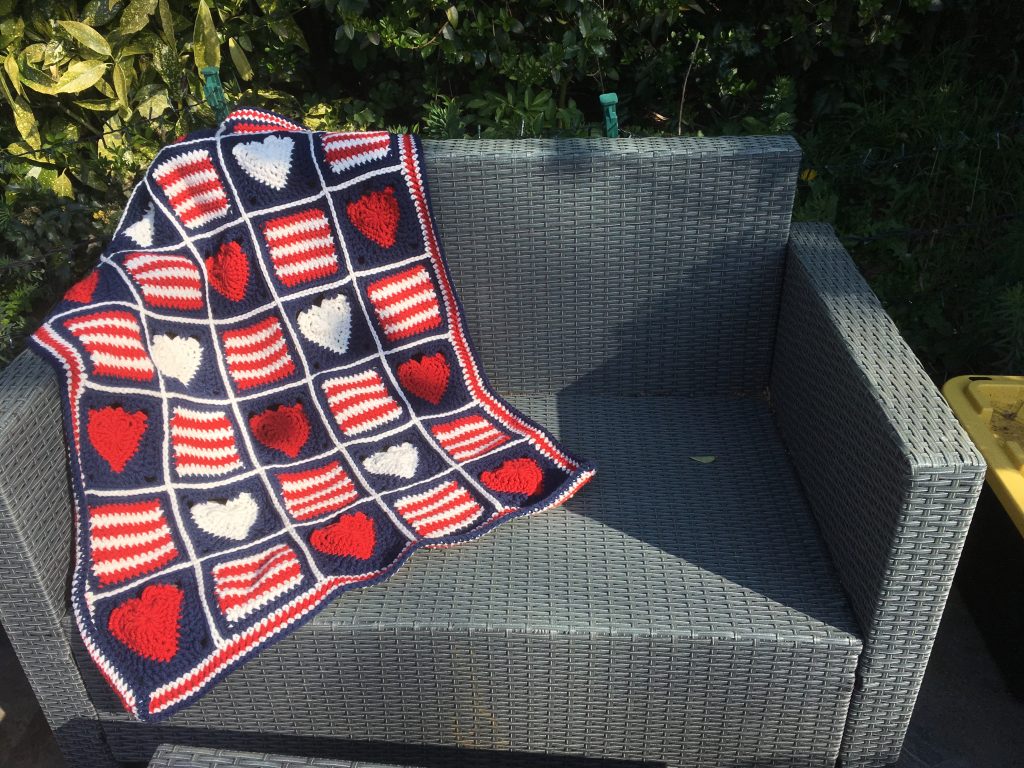
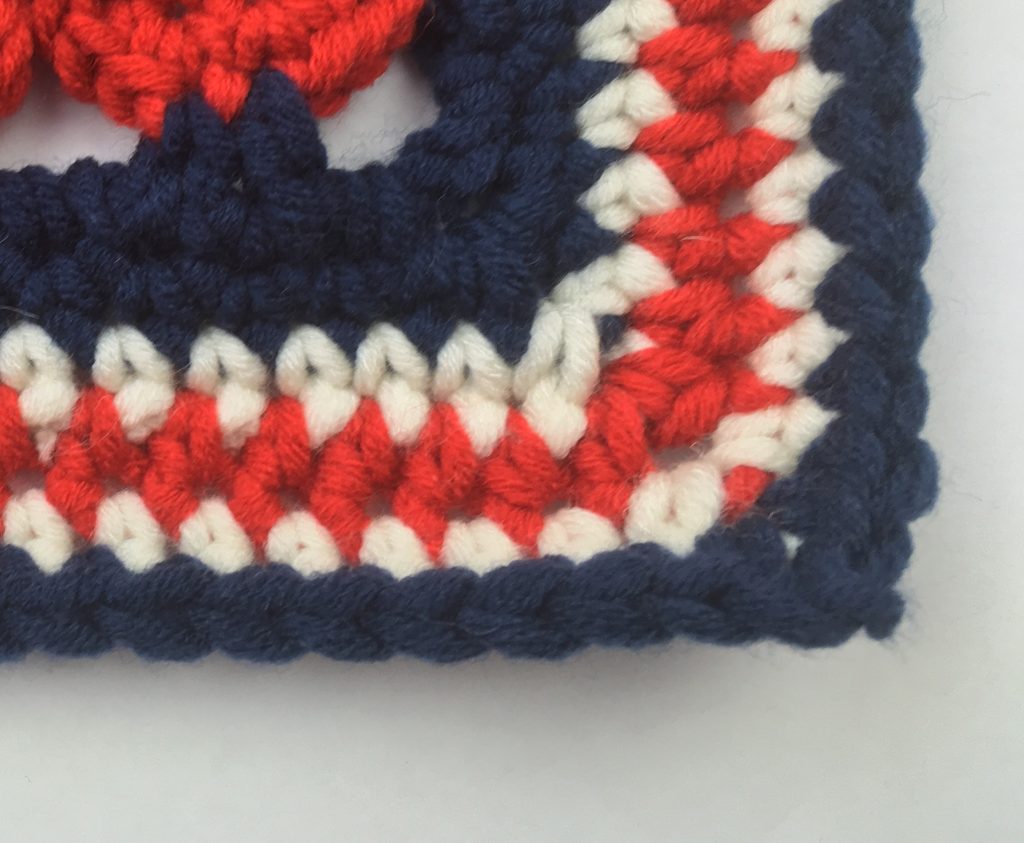
Hearts and Stripes Recycled Blanket
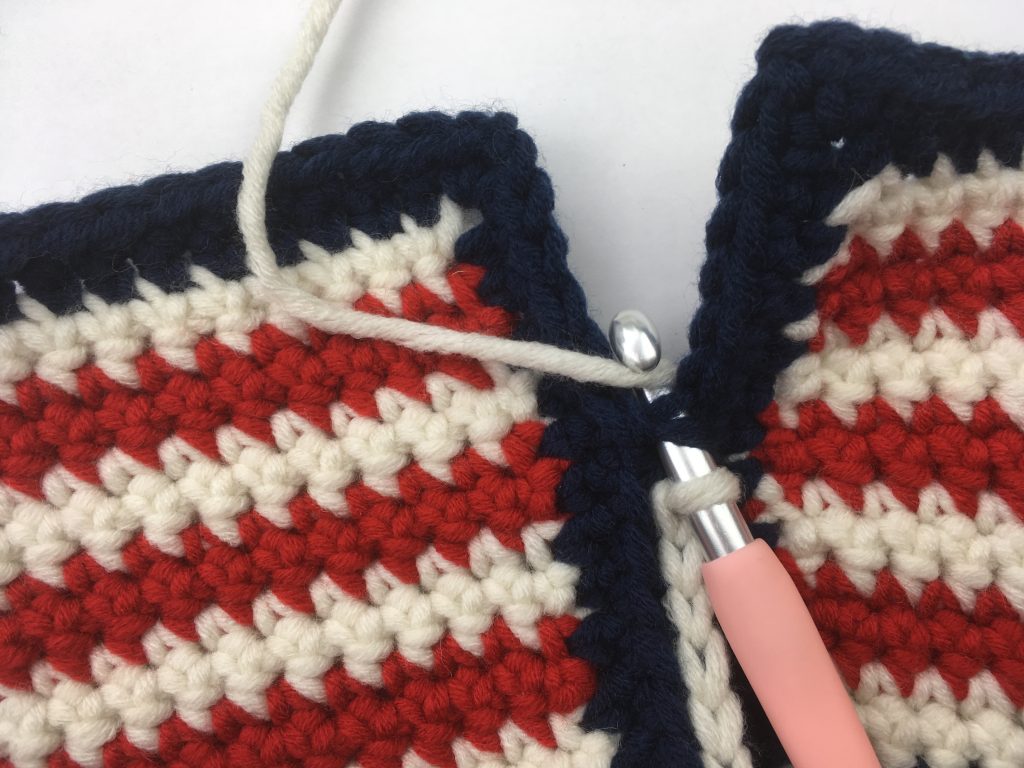
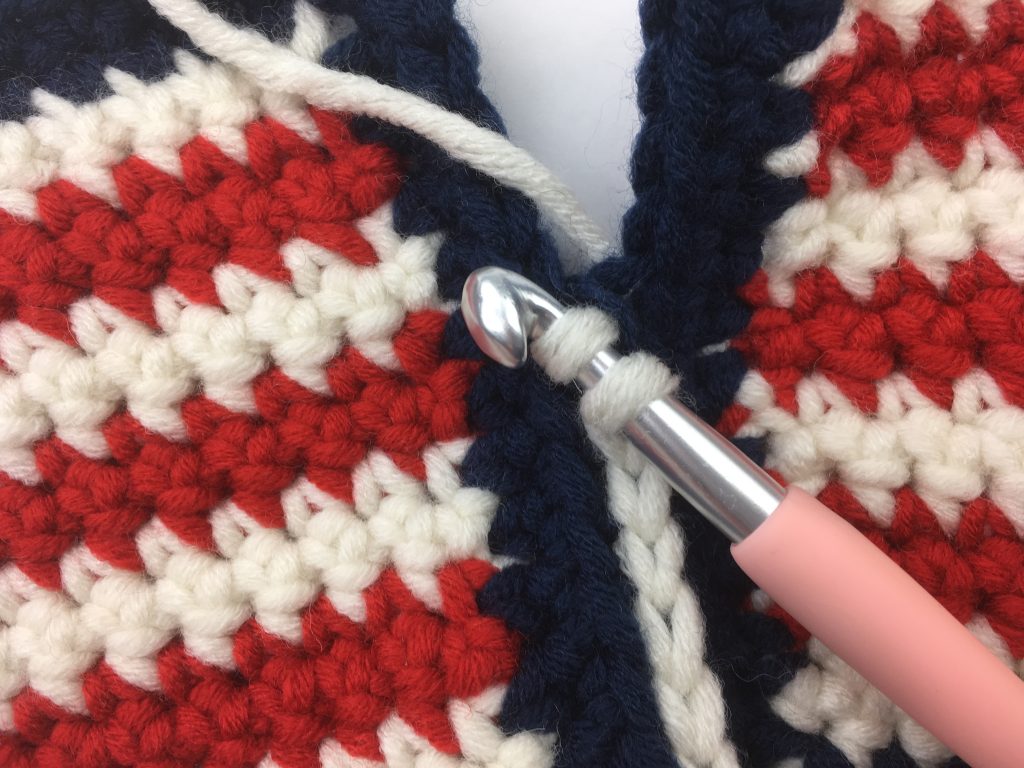
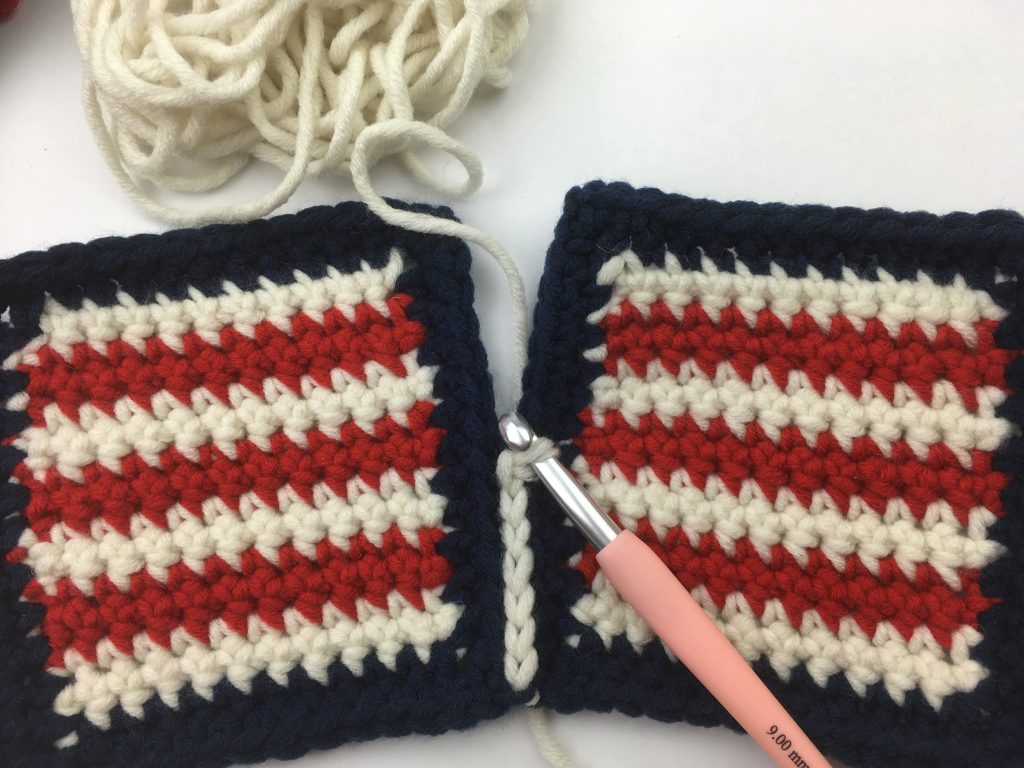
Here is my recycled project. The pattern is one I designed myself and is available for free here. The yarns I used are different ply and composition but worked up very easily as one yarn. Remember to test the wpi of your combined yarn before starting the project. I expected the crochet to be difficult and that the yarn would split but this was not the case. Finishing off the ends was the only part that I found more difficult but with a little extra patience and care even that was not too much of a challenge. Here are the recycled yarns I started with.
I combined the recycled yarn with some super chunky white yarn from my stash. This was left over from a previous project. As you can see the finished result looks quite different to the four yarns that went into the work.
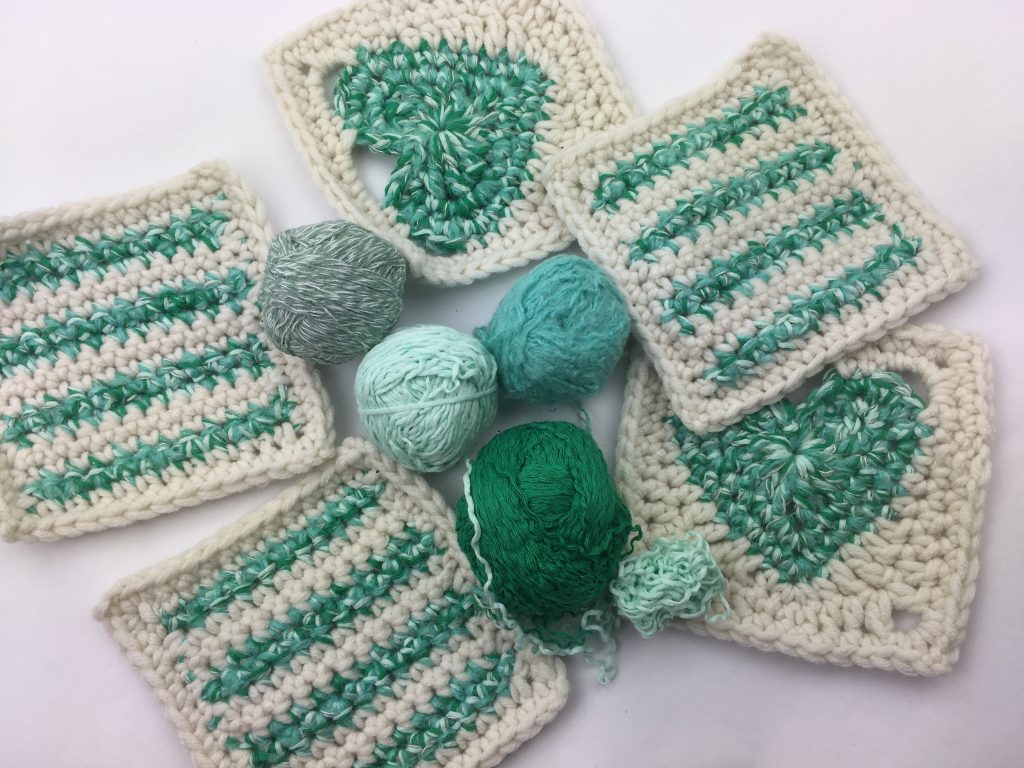
There are many ways to choose yarn for your projects. For me, there is nothing better than laying out all the balls of recovered yarn on the floor and playing with the colour combinations. This is how I get inspiration for my next project. Group the yarn by colour and see what works! Happy recycling!!
Annie 🙂