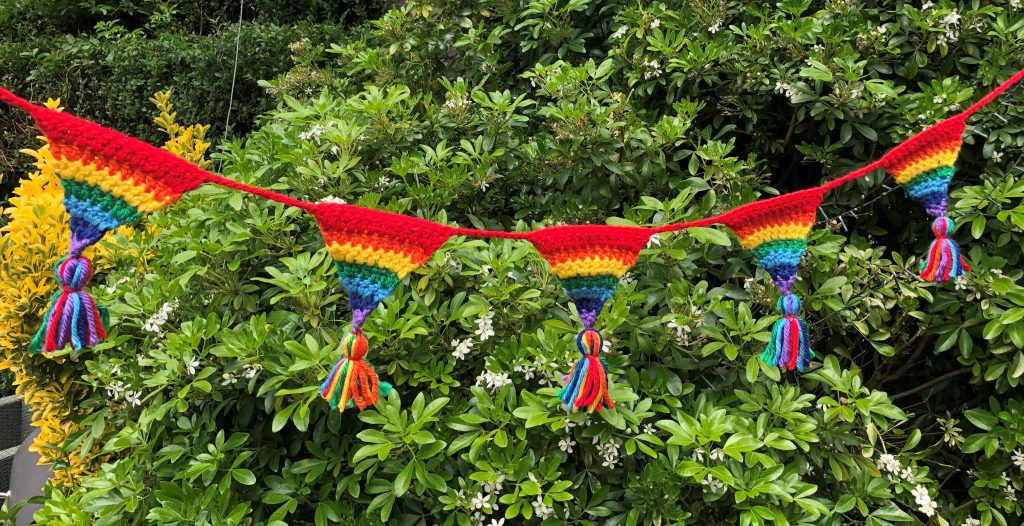
This post contains a free pattern and instructions for my Crochet Rainbow Bunting. I made this bunting with the scraps left over from the Heart Full of Rainbows cushion which you can see here, and the Rainbows and Hearts blanket which you can see here! My life has been full of chunky rainbows for some time and I probably need to move on! 🙂
This bunting is a very quick make because the yarn is so thick. I used Lion Brand Yarns – HomeTown USA which is a super chunky yarn and a 9mm hook. It is quite possible to make five flag bunting with tassels, as shown below, in one evening.
I buy all my yarn in the uk from Wool Warehouse because I love their customer service and the fabulous range they hold. At the time of writing I am not an affiliate of theirs I just love their website! The colours I used were as follows:
- Cincinati Red – 113
- Syracuse Orange – 133
- Pittsburgh Yellow – 158
- Green Bay – 130
- Detroit Blue – 105
- Fort Worth Blue – 109
- Mineapolis Purple – 147
Crochet Rainbow Bunting Pattern
For each flag you will be starting at the bottom – the violet part of the rainbow! We will be changing colour every two rows. The ends of the violet band will not be woven in. We are going to use them to attach the tassel and the ends will be added to the tassel. The amount you need to leave is no different to the normal length you would use to tie in really. I normally leave 6 to 8 inches.
Crochet Rainbow Bunting – UK terms (please scroll down for US crochet terms)
Begin with Purple
Foundation – chain four. Three of these chains will be the equivalent of a Treble.
First row – work one Tr into the first chain. This treble along with the three chains form two posts on this row. Chain two and turn the work.
Second row – work 2DC. The first Dc is worked into the top of the Tr on the previous row and the second into the top of the starting chain.
Join in the dark blue.
Third row – chain 3 (this will form the equivalent of one treble on this row). Work 1Tr into the first of the two stitches on the previous row. Work 2 Trebles into the next stitch. Chain two and turn the work.
Fourth row – work a row of 4 Dc one into each of the stitches on the previous row (including the starting chain)
Join in the light blue
Fifth row – chain 3 into the first stitch (this will form the equivalent of one treble on this row). Work 2Tr into each of the next two stitches. Work 1 Tr into the final stitch of the row. Chain two and turn the work.
Sixth row – work a row of 6 Dc, one into each of the stitches on the previous row (including the starting chain)
Join in the Green
Seventh row – chain 3 into the first stitch (this will form the equivalent of one treble on this row). Work 2Tr into the next stitch and work 1 Tr into the next two stitches. Finally work two Tr into the next stitch and one Tr into the final stitch on the row. Chain two and turn the work.
Eighth row – work a row of 8 Dc, one into each of the stitches on the previous row (including the starting chain).
Join in the Yellow
Eighth row – chain 3 into the first stitch (this will form the equivalent of one treble on this row). Work 2 Tr into the next stitch and work 1 Tr into the next four stitches. Finally work two Tr into the next stitch and one Tr into the final stitch on the row. Chain two and turn the work.
Ninth row – work a row of 10 Dc, one into each of the stitches on the previous row (including the starting chain).
Join in the orange
Tenth row – chain 3 into the first stitch (this will form the equivalent of one treble on this row). Work 2 Tr into the next stitch and work 1 Tr into the next six stitches. Finally work 2Tr into the next stitch and one Tr into the final stitch on the row. Chain two and turn the work.
Eleventh row – work a row of 12 Dc, one into each of the stitches on the previous row (including the starting chain).
Join in the red
Twelfth row – chain 3 into the first stitch (this will form the equivalent of one treble on this row). Work 2 Tr into the next stitch and work 1 Tr into the next 8 stitches. Finally work 2 Tr into the next stitch and 1 Tr into the final stitch on the row. Chain two and turn the work.
Thirteenth and final row – work a row of 14 Dc, One into each of the stitches on the previous row (including the starting chain).
Crochet Rainbow Bunting – US terms (please scroll up for UK crochet terms)
Begin with Purple
Foundation – chain four. Three of these chains will be the equivalent of a Treble.
First row – work one Dc into the first chain. This Dc along with the three chains form two posts on this row. Chain two and turn the work.
Second row – work 2Sc. The first Sc is worked into the top of the Dc on the previous row and the second into the top of the starting chain.
Join in the dark blue.
Third row – chain 3 (this will form the equivalent of one Dc on this row). Work 1Dc into the first of the two stitches on the previous row. Work 2 Dc into the next stitch. Chain two and turn the work.
Fourth row – work a row of 4 Sc one into each of the stitches on the previous row (including the starting chain)
Join in the light blue
Fifth row – chain 3 into the first stitch (this will form the equivalent of one Dc on this row). Work 2Dc into each of the next two stitches. Work 1 Dc into the final stitch of the row. Chain two and turn the work.
Sixth row – work a row of 6 Sc, one into each of the stitches on the previous row (including the starting chain)
Join in the Green
Seventh row – chain 3 into the first stitch (this will form the equivalent of one Dc on this row). Work 2Dc into the next stitch and work 1 Dc into the next two stitches. Finally work two Dc into the next stitch and one Dc into the final stitch on the row. Chain two and turn the work.
Eighth row – work a row of 8 Sc, one into each of the stitches on the previous row (including the starting chain).
Join in the Yellow
Eighth row – chain 3 into the first stitch (this will form the equivalent of one Dc on this row). Work 2 Dc into the next stitch and work 1 Dc into the next four stitches. Finally work two Dc into the next stitch and one Dc into the final stitch on the row. Chain two and turn the work.
Ninth row – work a row of 10 Sc, one into each of the stitches on the previous row (including the starting chain).
Join in the orange
Tenth row – chain 3 into the first stitch (this will form the equivalent of one Dc on this row). Work 2 Dc into the next stitch and work 1 Dc into the next six stitches. Finally work 2Dc into the next stitch and one Dc into the final stitch on the row. Chain two and turn the work.
Eleventh row – work a row of 12 Sc, one into each of the stitches on the previous row (including the starting chain).
Join in the red
Twelfth row – chain 3 into the first stitch (this will form the equivalent of one Dc on this row). Work 2 Dc into the next stitch and work 1 Dc into the next 8 stitches. Finally work 2 Dc into the next stitch and 1 Dc into the final stitch on the row. Chain two and turn the work.
Thirteenth and final row – work a row of 14 Sc, One into each of the stitches on the previous row (including the starting chain).
Finish off the Crochet Rainbow Bunting
The problem with anything made with rainbow colours is the number of ends you have to weave in!! Hiding ends in chunky yarn is not easy but I highly recommend a little gadget by KnitPro – their wool needles. With these little beauties I found making up much quicker!
We are going to add tassels to the bottom of each flag – they help the flags hang better and look soooo lovely. Finish off all the ends but leave the start thread at the bottom and when you finish off the other purple end just take it down to the bottom too and leave it hanging there – we need about five inches or so – depending on the length of your tassels.
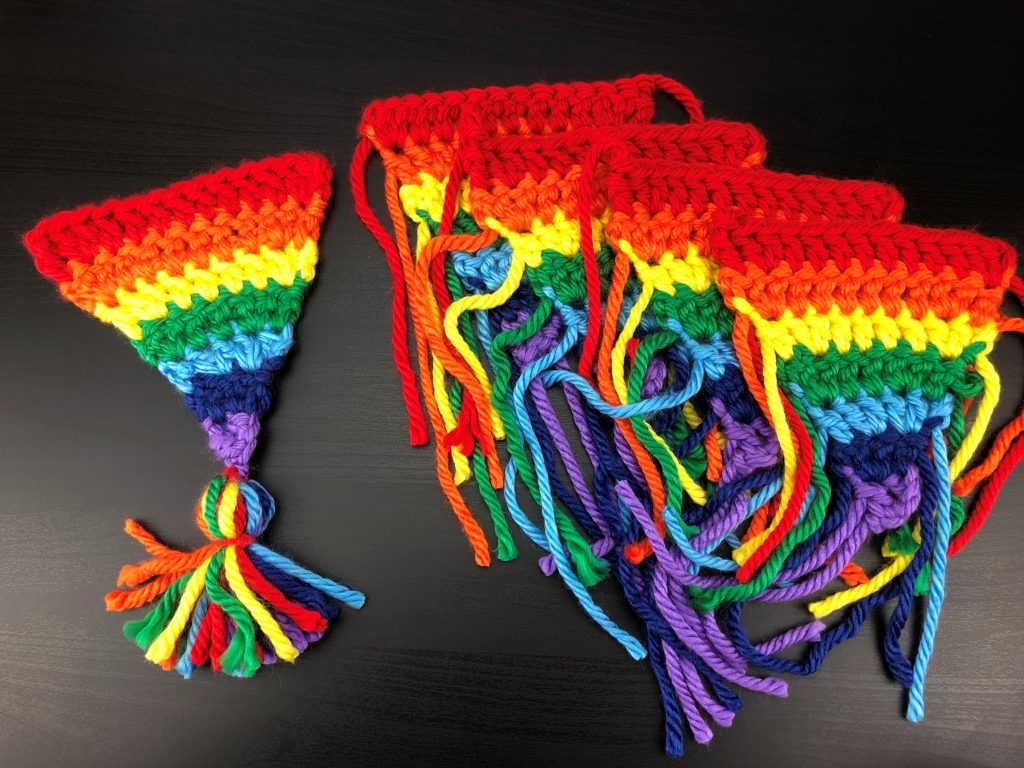
Add the Tassels
Cut two lengths of each of the coloured yarn. I used pieces about 10 inches long. Make yours twice the length you want your finished tassels to be. Line up all the coloured lengths together matching the ends so they look neat. Don’t worry if some of them are sligthly different lengths – you can give the tassel a hair cut at the end. Put the lengths of yarn across the bottom of one of the flags at right angles to the flag.
Take the two strands of purple yarn and put one under and one over the bundle of lengths of yarn. Tie these two ends right in the middle of the bundle of yarn.
Next fold the bundle into two so they are hanging down from the flag in the position of the tassel. Take a single strand of one colour of yarn and wrap it around the top of the tassel about an inch from the top. This makes the top ball of the tassel. Tie this yarn tightly and thread the ends into the tassel to lose them.
Give the tassel a haircut if needed to level off the bottom. You could wait until they are all completed to do this. That way you can level across the whole set of flags.
Making up the Crochet Rainbow Bunting
This could not be more simple or quick! Work a nice tight chain as long as you need before the first flag.
If you want you can put a loop on the end by working six chain then form a ring by putting a slip stitch into the starting chain before carrying on in chain to the length you need.
When you get to the position you want to place the first flag work a row of 14 Dc (14 Sc in US terms) across the top of the red stripe at the top of the flag. At the end of the flag work in chain until you are happy with the spacing then pick up and work Dc across the top of the next flag.
At the end of the final flag work another chain to complete the bunting. Add another loop at the end if you are putting loops on to help you hang the bunting.
And that is all there is to it! I hope you love this quick make as much as I do. Happy Crocheting!
Annie 🙂
Recent Comments